
I realized that since August I have not written about the custom thermostat I prepared for our flat, despite having discussed it at length on Twitter. The reason why it escaped my mind is because between that post and October, basically nothing happened, in part because we went to see my wife’s family, and in part because I set up orders in motion before we left.
Back in August one of the next steps that I spoke about was wanting to have an enclosure for the thermostat, because seeing a raw board on the wall does not make it look very nice or professional. I had at that point a whopping no experience in designing or 3D printing objects so I was really not looking forward to that particular task. But then, thanks to Rich Felker on Twitter giving me an advice on how to make screw stands, I just tried, and…

So to be clear, this was designed in Fusion 360, because I needed a lot more hand holding than any of the open source tools I could find would lend to me. It’s the difference between me being able to get something done, or getting frustrated and abandon it.
Since I have no 3D printer at home, or reachable (I’m still not in an office), I ended up getting this printed out by 3D People UK that could do it with SLS for a relatively affordable price — I went straight for five copies of the enclosure (I needed three thermostats), which meant it was quite the risk to take if I screwed it up. That’s why I was glad that Autodesk provides very good integration between their products: the printed PCB fit perfectly onto the enclosure!
It was not completely snag free though. First of all, the screws I wanted to use didn’t arrive in time. Before leaving in September, I put through orders for the enclosures from 3D People UK, the PCBs from JLCPCB (with the snail-mail shipping), and Torx-head screws from AliExpress. Part of the reason why I wanted Torx-head screws goes back over 13 years, to when I would have loved having them available for assembling computers, since I thought I would for once build this the way I would like to buy stuff. I ended up ordering a box of “normal” Phillips screws off Amazon instead, which worked out well enough.
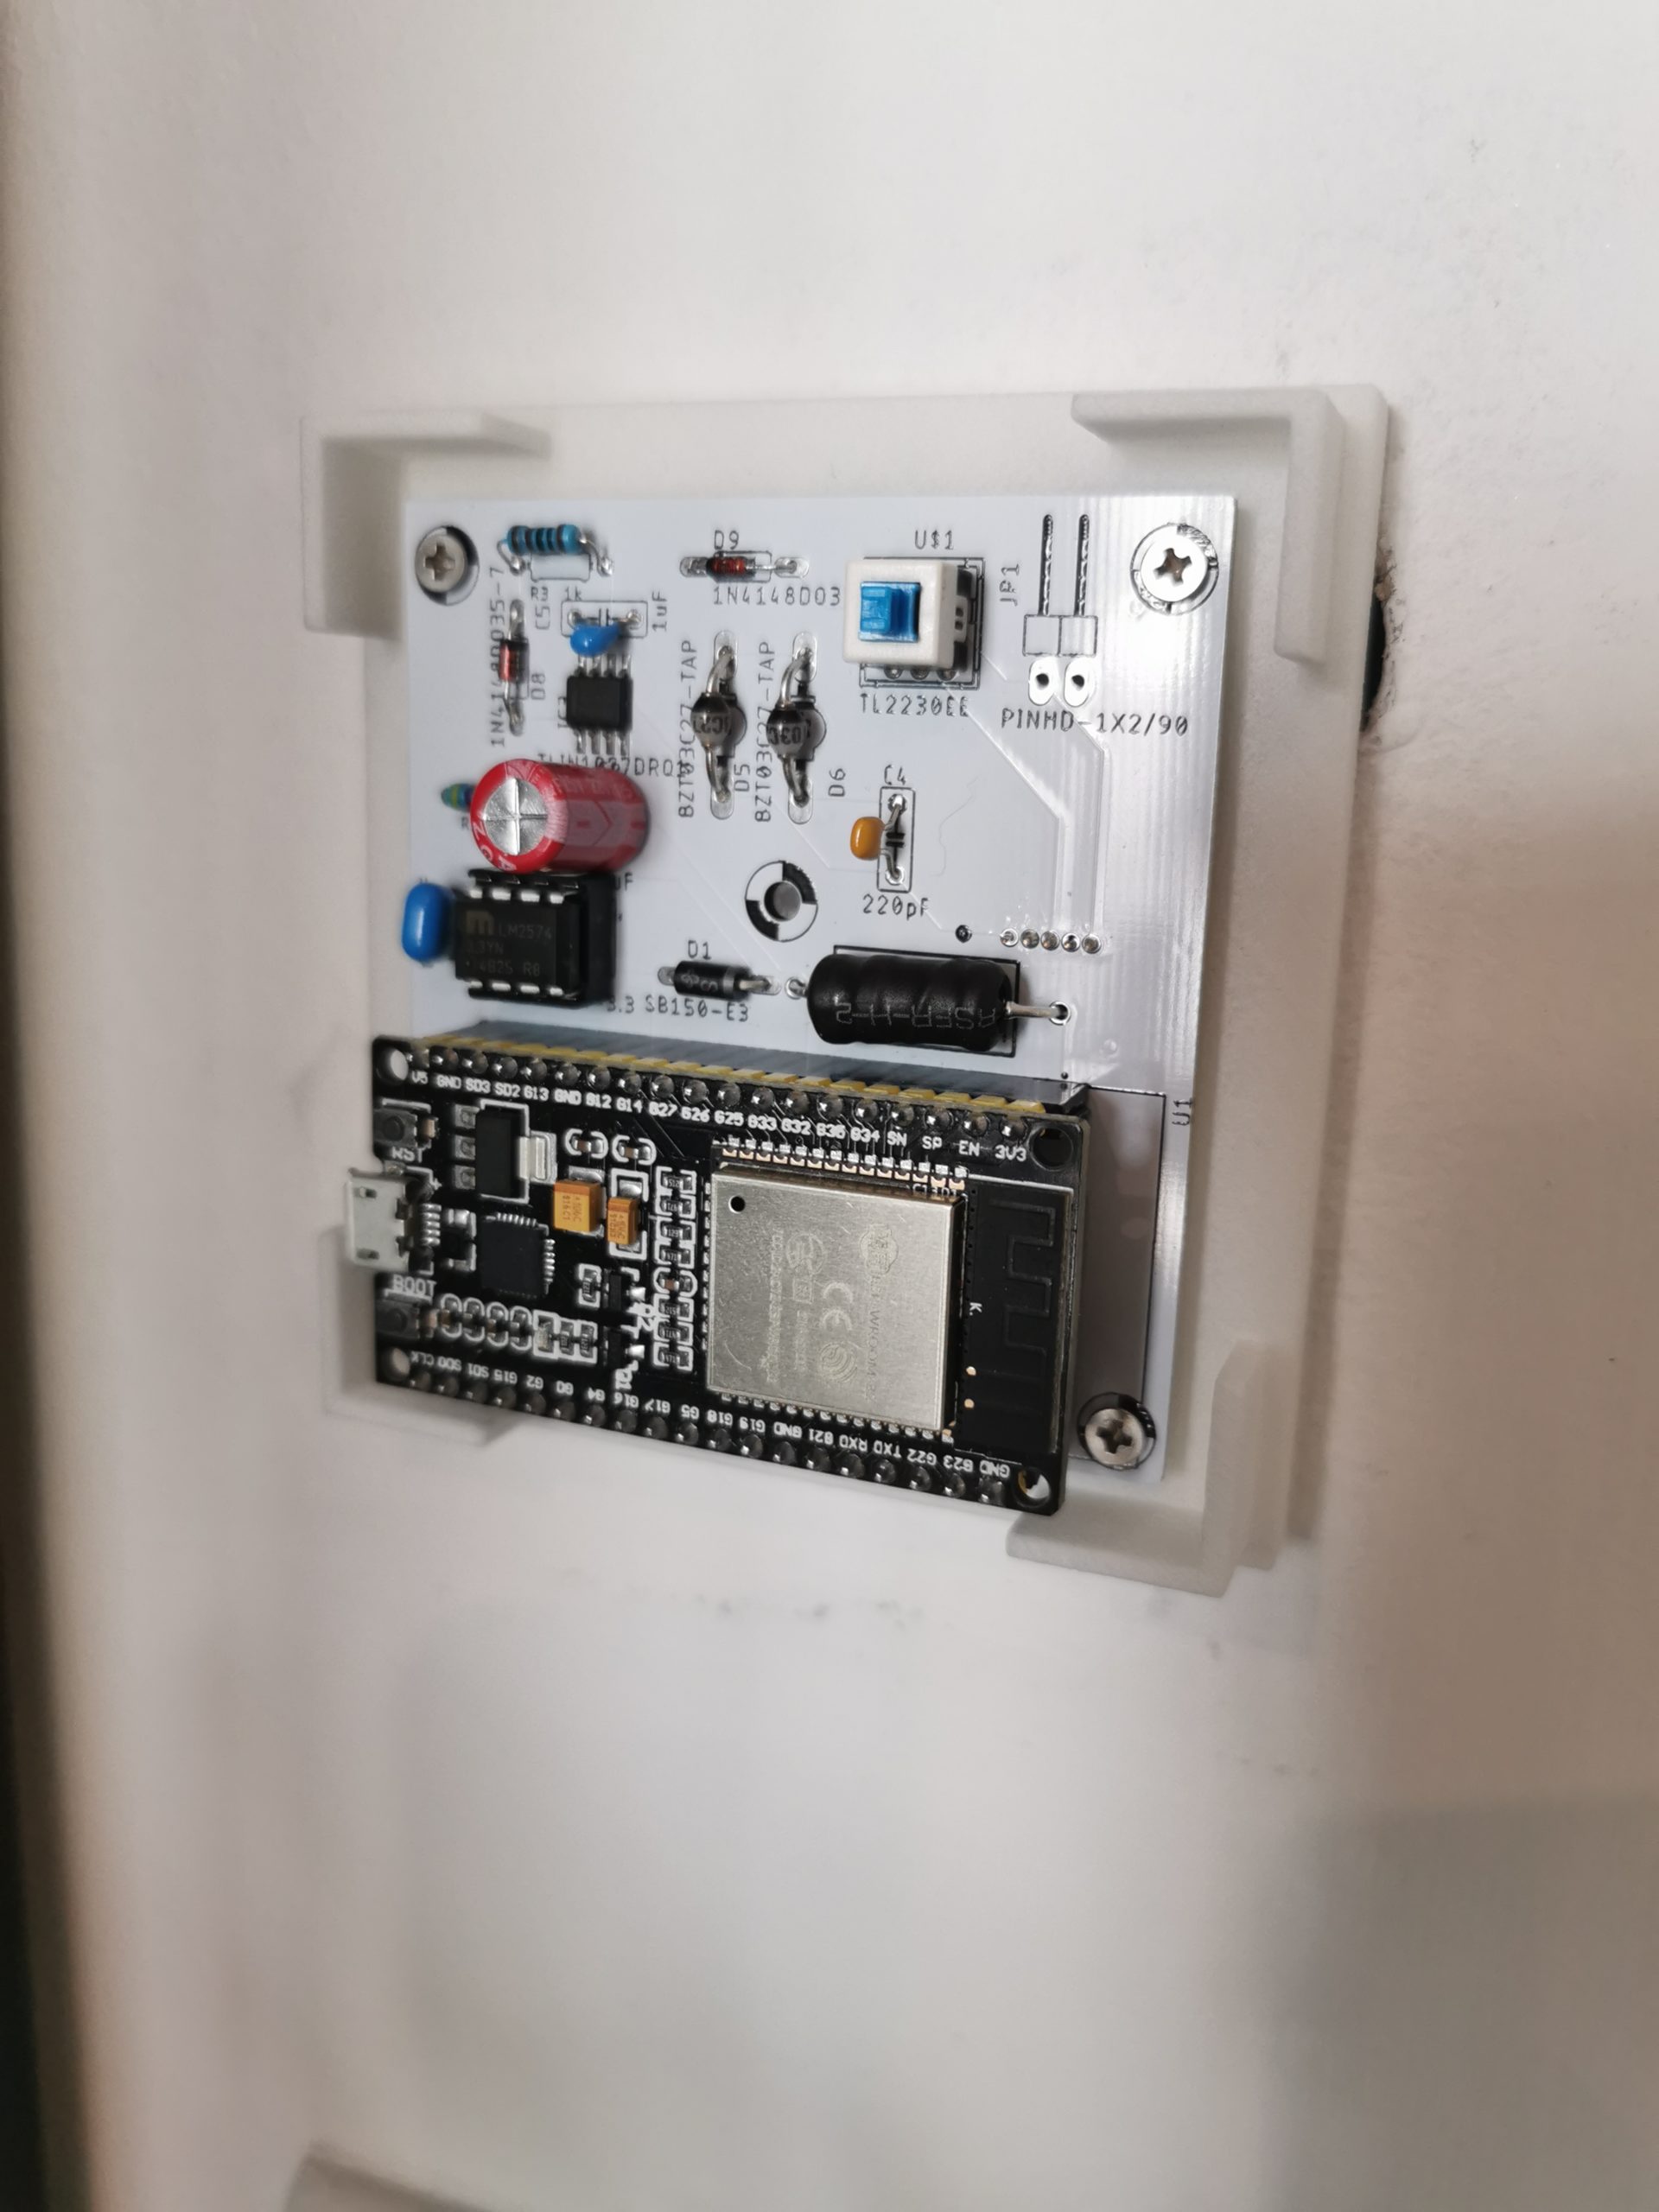
You can see in the picture a big hole almost exactly in the center of the enclosure — that was meant to be the screw that would hold the two parts of the case together. It turned out not to be needed: at least with the SLS print, the friction is enough to hold it together, which means I haven’t bothered screwing in anything there — there’s four screws on the corner of the board instead, to keep it in place. The other hole is for the power button — I added it on the second revision board, so I could power-cycle the ESP32 without taking the plug from the wall off. I wanted it to fit a button cap so that it would poke through, but I might have measured it wrong, the end result is that I need a pen to poke through the hole to turn the thermostat off (or just take the cover out), which is just as good anyway.
In addition to the power disconnect, I’ve followed through on most of the points from the list of next steps. There’s no more a separate connector to plug in the original thermostat on. As I said in that post, it turned out to not be as useful, and then it’s a waste of time to follow through on it. This change is also the reason why the boards I’m using have a bodge on them: when I removed the second bus I forgot to connect the chip-select on the LINbus transceiver, and I was thoroughly confused when I couldn’t get the thermostat to send anything onto the unit itself.
I didn’t end up including any physical tweakable on the device itself: no buttons, and no LED, although I was tempted to include one of the discrete NeoPixels — and honestly it wouldn’t even need to change the enclosure for that: the SLS nylon is not going to block the light shining through in any significant way, and rather would diffuse it to look nice enough, to the point I may just do that one of these days.
The other thing I didn’t do is try to reduce the costs in the bill of material. The TVS diodes are still present, and the capacitor is still ceramic. While both optimizations would be lovely, I thought that if I wanted to go down that route, I should just make the board to be SMD and not bother with putting it in place myself. But if I did that it would take a little bit more care (as SMD ready made boards are more expensive), and at that point it might as well also include the ESP32 module onboard as well, but that comes with a different set of problems.
In particular, I do not believe I would be able to get any significant savings even with a fully SMD reduced BOM, not just because I would have to buy components that I otherwise have already acquired over the previous time on the project, but because the scale of production for an SMD board would require making more copies, which would then be additional costs driving up the whole project. Also, with the current design I maintain the two most expensive components (the ESP32 devkit and the DC-DC converter) socketed, so that I do not “consume” them if I want to upgrade to a new design (although the design is now constrained by the enclosure, obviously.)
What instead I might end up doing is designing a board that I can use to connect the original controller on: there’s a few functions that I have not implemented correctly yet, such as the ability to set the unit to “prewarm”, which I think just means the heater starts warming up earlier but does not actually spread the heat.
For this to work, I guess I’ll make space to connect an USB-to-Serial adapter directly on top, rather than trying to build one that would have its own CH340 chip on it, even though I would have loved to have one doing it. The reason for it is mostly that it’s the kind of device that, honestly, would just be used a few times for me to figure out the remaining bits of the protocol, so spending time figuring out how to build what effectively is a custom USB serial adapter for it is not a great use of my time, nor a great use for components that are harder to come by.
There’s more to come on this topic, by the way. It’s not entirely about reversing the original thermostat, but I’m going to keep it within the same “series” for my own ease.
Hi Diego, cool project. I enjoyed reading about it. I have done a similar RE on a Rinnai water heater. If you like this kind of stuff I invite you to visit the article on my blog. https://blog.yavilevich.com/2020/08/changing-a-dumb-rinnai-water-heater-to-a-smart-one/
Thanks for this series. Having finally gotten back to my house with a 2-13-ish LG ducted system in, i’m keen to bring it kicking and screaming into the IOT world….that and the rest of the house !